
My daughter came running into the kitchen last week with a splotch of spaghetti sauce down the front of her favorite shirt, and I realized I was completely out of commercial stain spray. Instead of panicking, I reached into the pantry, mixed up a quick paste, and had the stain lifting within minutes.
That small victory reminded me why DIY stain removers are worth knowing. The right pantry ingredients tackle most everyday stains just as well as store-bought products, cost a fraction of the price, and are usually gentler on both fabric and skin.
Why Pantry Ingredients Work on Stains
Stain removal comes down to chemistry, and your kitchen is full of the right tools. Acids like white vinegar and lemon juice break down mineral and rust stains, while alkaline baking soda lifts grease and neutralizes odors. Enzymes in dish soap cut through protein and oil.
Because these ingredients each target a specific type of stain, matching the remedy to the mess is the secret to success. Once you understand which pantry staple fights which stain, you can handle almost any spill without a special trip to the store.
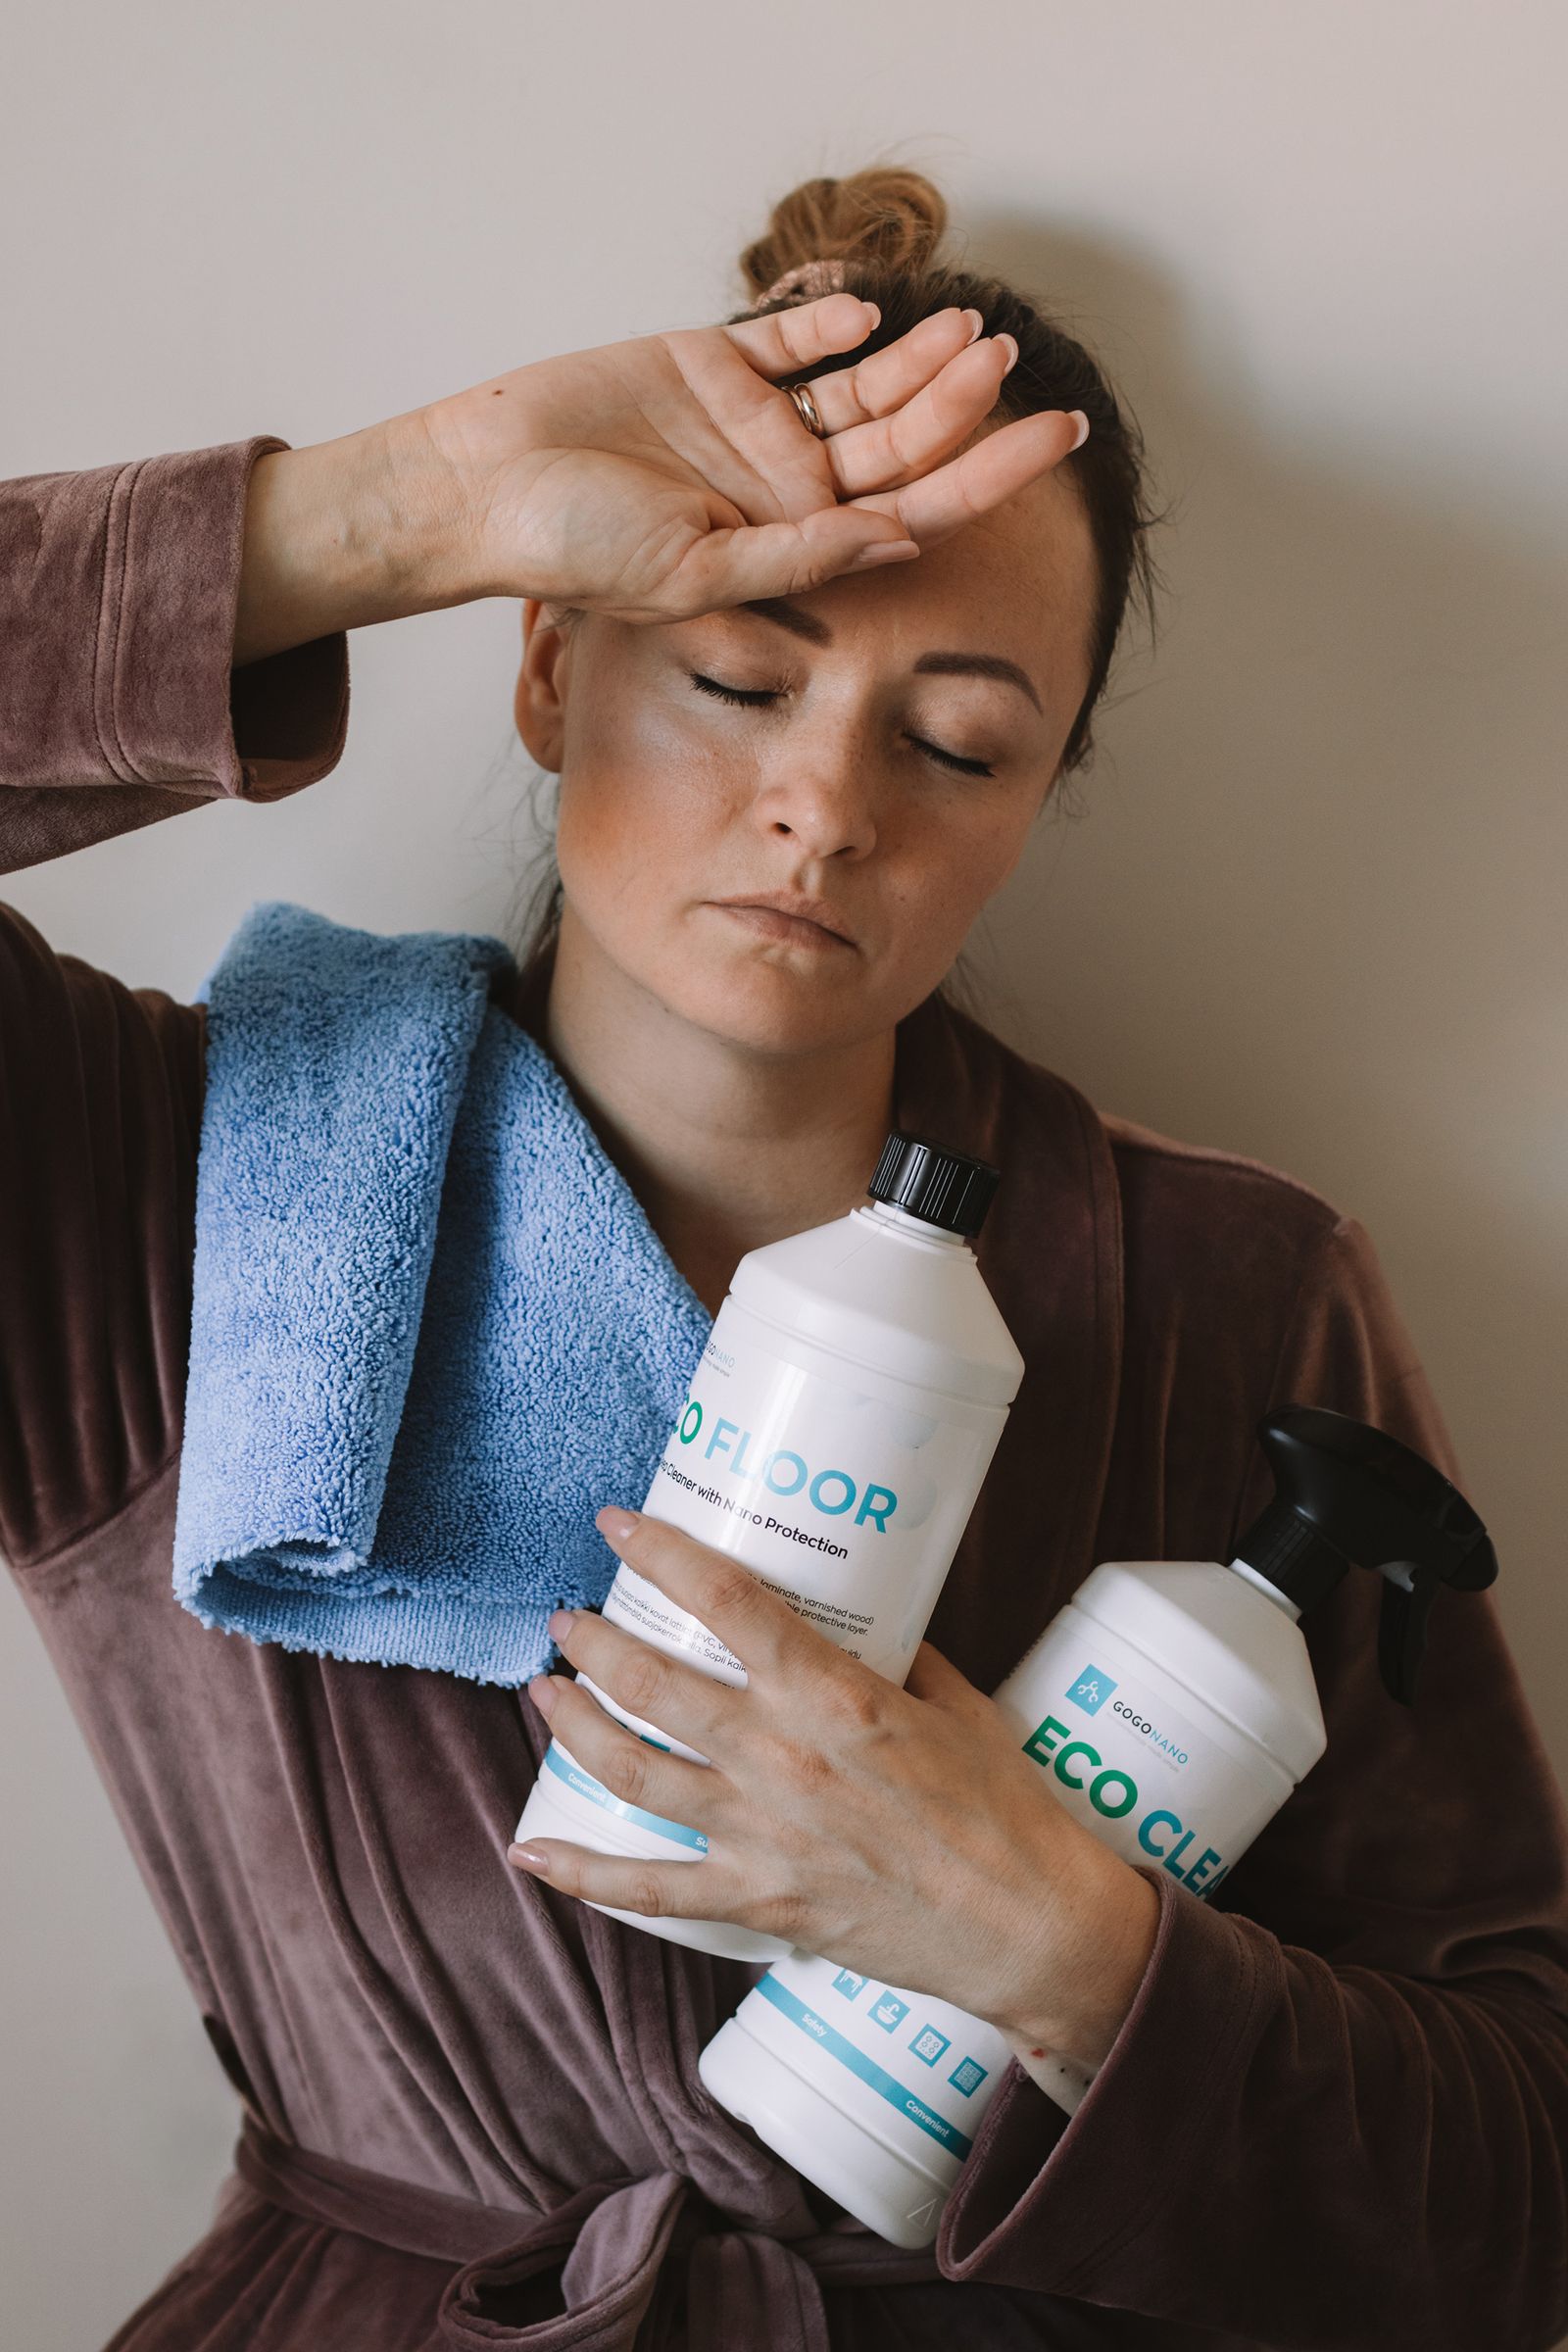
The Five Pantry Staples Every Stain-Fighter Needs
You do not need a cabinet full of products. These five inexpensive staples cover the vast majority of household stains:
- White vinegar: Cuts through coffee, sweat, deodorant, and mildew, and brightens dingy whites.
- Baking soda: Absorbs grease, lifts odors, and forms a gentle scrubbing paste.
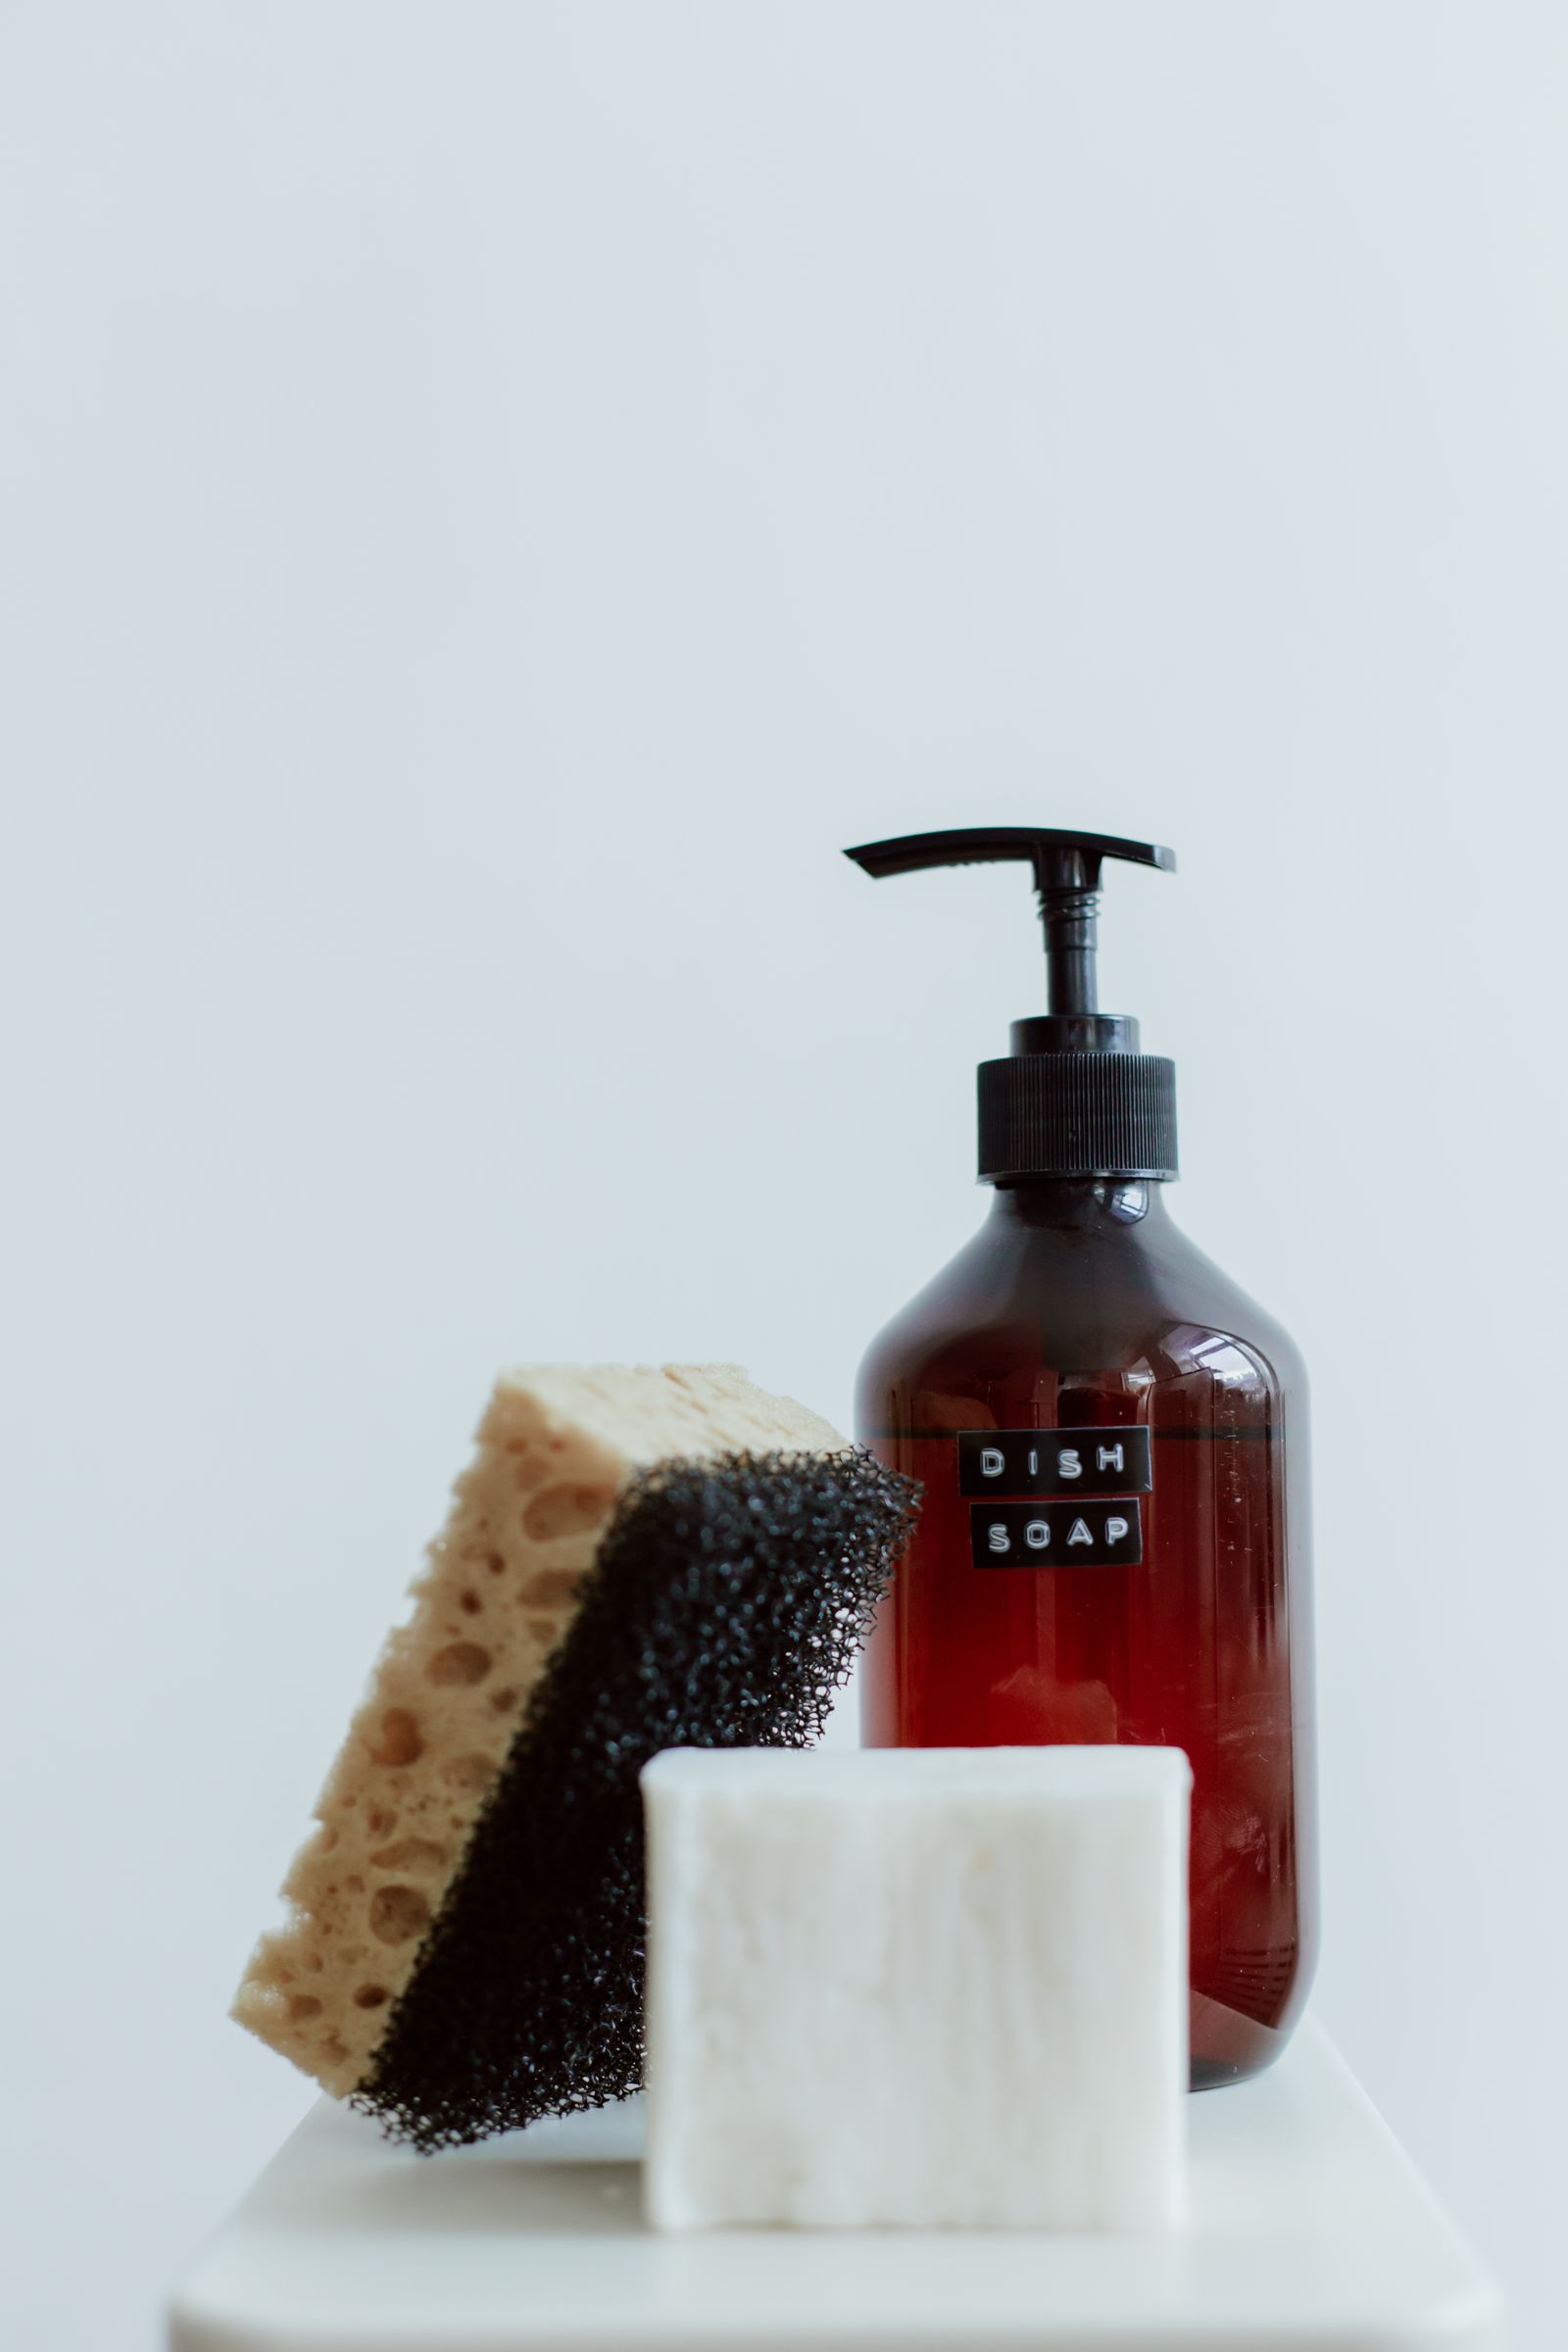
- Dish soap: A grease-cutting workhorse for oil, food, and makeup stains.
- Hydrogen peroxide: A mild bleach alternative for blood, wine, and protein stains on whites.
- Lemon juice: Natural acid that fades rust, underarm yellowing, and light fruit stains.
With these on hand, you are equipped for spaghetti sauce, morning coffee, grass-stained knees, and just about everything in between.
DIY Recipes for Common Stains
Here are the specific mixtures I reach for, along with exactly how to use them. Always blot, never rub, and treat stains while they are fresh whenever possible.
Grease and Oil
Cover the stain with a thin layer of baking soda and let it sit for fifteen minutes to absorb the oil, then brush it off. Work a few drops of dish soap into the spot, let it stand five minutes, and wash in the warmest water the fabric allows.
Coffee and Tea
Mix one tablespoon of white vinegar with one tablespoon of dish soap in two cups of warm water. Sponge it onto the stain, let it sit for ten minutes, and rinse. For a stubborn ring, our guide on how to act fast on wine and similar tannin stains uses the same fast-blotting approach.
Blood
Rinse fresh blood in cold water first, never hot, which sets the stain. Then dab with hydrogen peroxide on white or colorfast fabrics, watching for any color change on a hidden seam first. Let it bubble, then rinse and launder.
Sweat and Deodorant
Make a paste of baking soda and water, spread it over yellowed underarms, and let it dry for an hour before washing. For lingering odor, a white vinegar pre-soak works wonders.
The Golden Safety Rule
Homemade does not automatically mean safe to combine. The single most important rule is to never mix chlorine bleach with vinegar, ammonia, or any acid, because the reaction releases toxic, potentially deadly fumes.
Stick to one remedy at a time, rinse thoroughly between treatments, and always test any mixture on an inconspicuous spot first. Hydrogen peroxide is a far safer whitening agent than chlorine bleach for most DIY situations, but it can still lighten colored fabrics, so spot-test it too.
How to Apply DIY Removers the Right Way
Technique matters as much as the ingredient. Blot up excess spill with a clean cloth before applying anything, and always work from the outside of the stain inward to keep it from spreading.
Give each treatment time to work rather than scrubbing aggressively, which can damage fibers and push the stain deeper. After treating, launder as usual, but air dry until you confirm the stain is gone, since a hot dryer can permanently set any residue. Getting your detergent amount right in that final wash helps rinse away both the stain and the remedy.
When to Reach for Something Stronger
Pantry remedies handle most everyday messes, but some stains need specialized help. Set-in dye transfer, old rust, and certain inks may require an oxygen bleach soak or a dedicated enzyme cleaner.
For a complete quick-reference on matching treatments to specific stains, our ultimate stain removal chart for 20 common stains is worth bookmarking. For guidance grounded in fabric science, the EPA Safer Choice cleaning products guide offers trusted, fabric-specific steps.
Keep those five pantry staples stocked and you will rarely be caught off guard by a spill again. Next time something splashes, resist the urge to panic. Blot, match the remedy to the stain, and let simple kitchen chemistry do the work.
More Pantry Recipes for Tricky Stains
Beyond the everyday spills, a few less common stains respond beautifully to pantry ingredients once you know the trick. These recipes have saved more than one of my favorite shirts.
Grass and Mud
Grass is a dye-and-protein combo, so it needs a two-step approach. Work a paste of baking soda and white vinegar into the stain, let it fizz and sit for fifteen minutes, then scrub gently with an old toothbrush. Follow with a drop of dish soap and a warm-water rinse before laundering.
Ink and Marker
For ballpoint ink, dab the spot with rubbing alcohol on a cotton ball, placing a clean towel underneath to catch the transfer. Blot repeatedly, changing the towel as the ink lifts, then wash. Avoid soaking, which can spread the ink into a larger halo.
Tomato and Curry
These bright, pigment-heavy stains fade fastest in sunlight. Rinse in cold water, rub in a little dish soap, and lay the item in direct sun to dry. The combination of natural bleaching from the sun and the surfactant in the soap works remarkably well on stubborn orange and red tints.
Building Your DIY Stain Removal Kit
A little organization turns stain emergencies into non-events. Keep a small caddy in your laundry area with your five staples, a spray bottle, a couple of clean white cloths, and an old toothbrush for scrubbing.
- Label a spray bottle with a simple vinegar-and-water mix for quick everyday spot treatment.
- Store baking soda in an airtight jar with a spoon so it stays dry and ready.
- Keep white cloths only for blotting, so you never transfer dye onto a stain.
- Add a laminated cheat sheet listing which remedy fights which stain for fast reference.
With a ready kit, you will treat spills in the crucial first few minutes when they lift most easily, instead of hunting for supplies while the stain sets. That head start is often the difference between a saved garment and a ruined one.
Frequently Asked Questions
Are DIY stain removers safe for all fabrics?
Most are gentle, but always spot-test on a hidden seam first. Skip hydrogen peroxide and lemon juice on dark or brightly colored items, and be cautious with delicate fabrics like silk and wool, which may need a professional touch.
How long do homemade stain solutions last?
Mix vinegar-and-water sprays fresh every few weeks, and make baking soda pastes right before use since they lose potency once dried. Keeping ingredients dry and sealed extends their shelf life considerably.
Common DIY Stain Removal Mistakes
Even simple pantry remedies can backfire if you rush the process. The most frequent mistake is using hot water on protein stains like blood, egg, or sweat, which cooks the proteins into the fibers and makes the mark permanent. Always start cold on anything from the body or the kitchen.
Another common error is scrubbing hard in a back-and-forth motion, which frays fibers and grinds the stain deeper. Gentle blotting from the edges inward lifts far more than aggressive rubbing. Finally, resist the temptation to layer multiple remedies at once, since combining acids and bases cancels their cleaning power and can produce unexpected reactions on the fabric.
Patience is the quiet ingredient in every successful treatment. Let each remedy dwell for the recommended time, rinse fully, and check your results in good light before drying. A calm, methodical approach saves more clothes than any expensive product on the shelf.

Felipe Amaral writes about laundry and clothing care for real life — small apartments, busy weeks and clothes you actually want to last. Based in Denver, Colorado, he’s made every laundry mistake in the book so you don’t have to.