
It is 7:52 in the morning, you have a meeting at 8:30, and the one clean dress shirt you own looks like it spent the night balled up in a gym bag. We have all been there, standing over an ironing board feeling like this simple task is somehow going to make us late.
The truth is that you can iron a dress shirt in under five minutes once you know the right order to work in. Speed comes from a sequence, not from rushing. Here is the exact method professionals and frequent travelers use to get a crisp shirt fast, every time.
Set yourself up before you iron a dress shirt
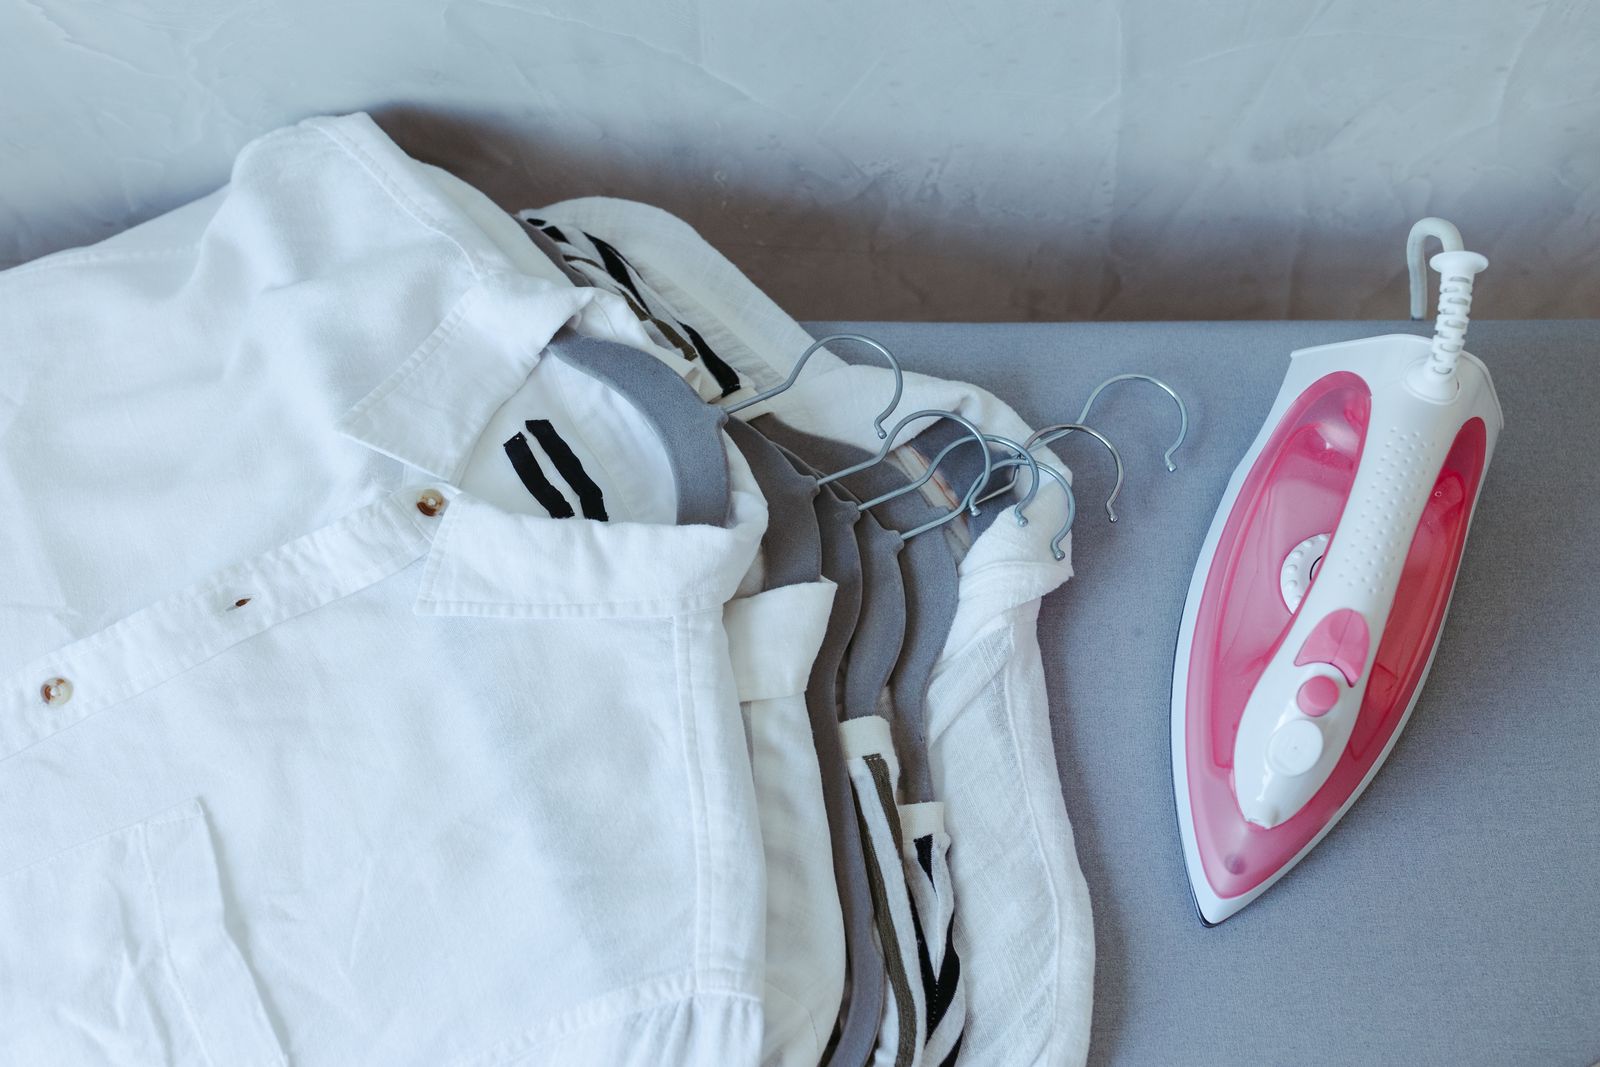
Half the battle is won before the iron ever touches fabric. A minute of setup makes the actual ironing faster and stops you from redoing sections, which is where most people lose their time.
Get these three things right first:
- The right heat: match the iron to the fabric. Cotton takes high heat with steam, while linen blends and synthetics need medium or low to avoid scorching.
- A slightly damp shirt: iron shirts when they are very slightly damp, or mist them with water first. Dry, bone-stiff fabric fights you.
- A clean, firm board: a padded, taut ironing board surface presses far better than a bed or towel on the floor.
Always check the care label for the fabric type before you crank the heat. When you take good care of your basics, even inexpensive shirts look sharp, an idea we cover in our guide to making cheap clothes look expensive with proper care.
The fastest order to iron a dress shirt
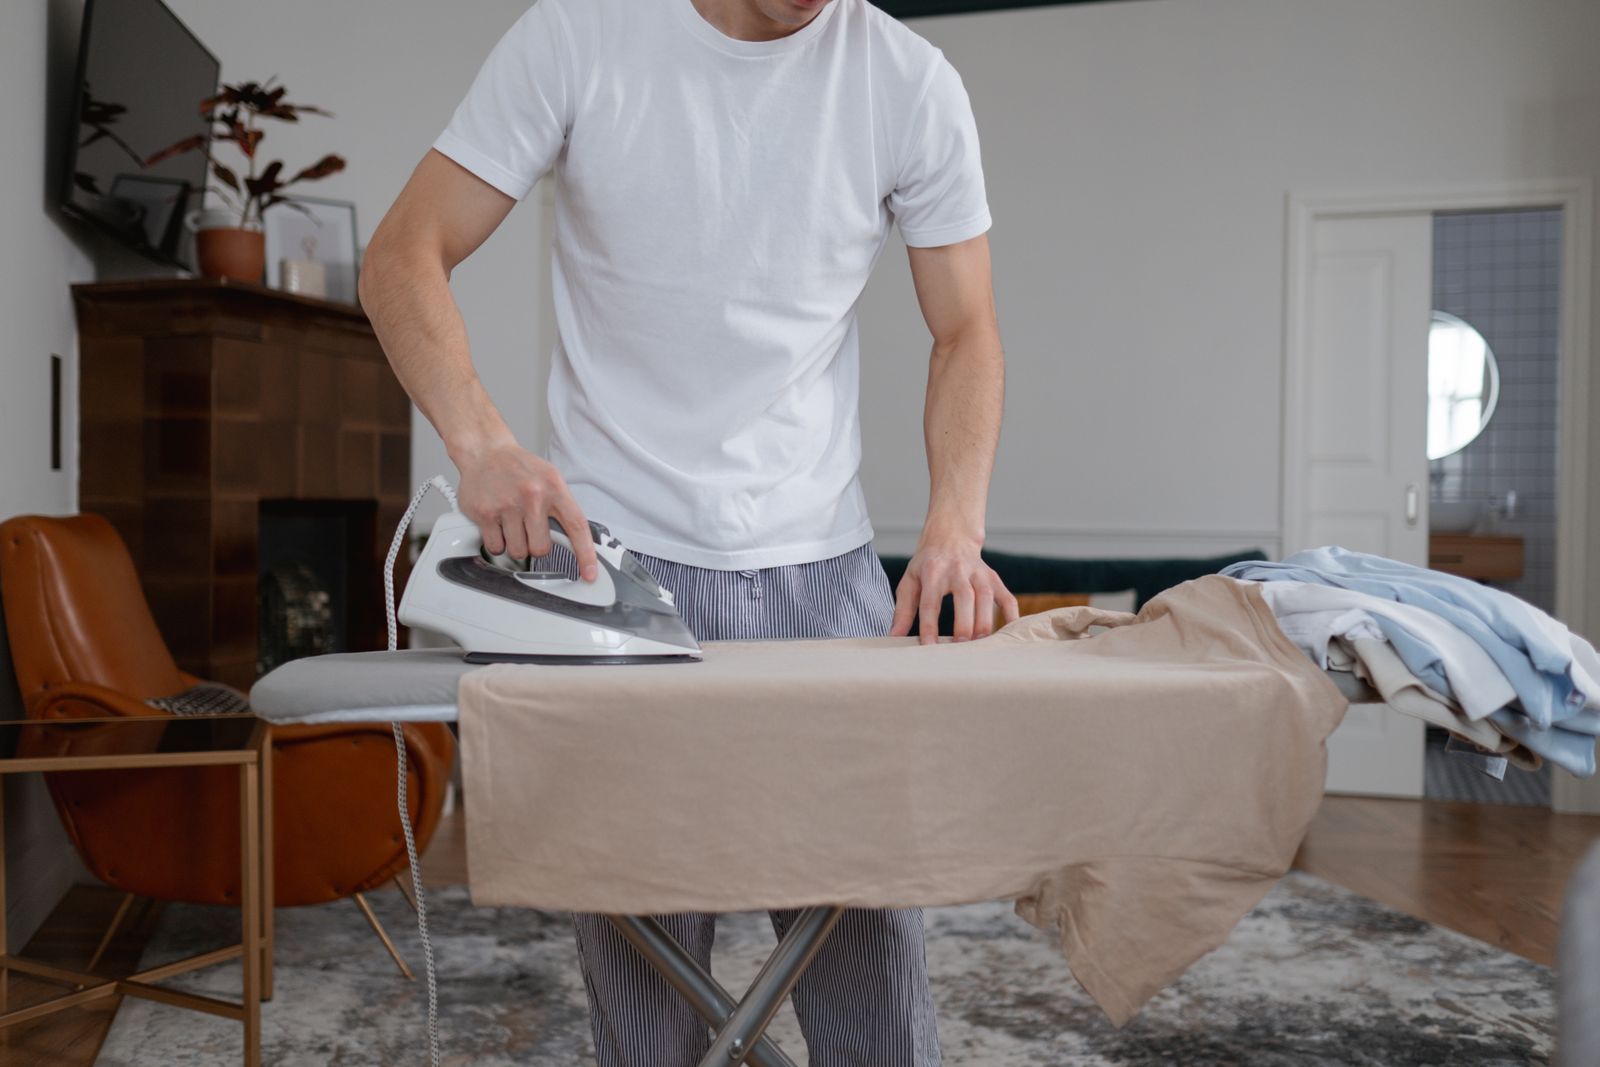
The single biggest time-saver is ironing in the correct sequence, working from the smallest, most detailed parts to the largest flat panels. This way you never crush a finished section while working on another.
Follow this order and you will not have to backtrack:
- Collar: unfold it flat and iron the underside first, then the top, working from the points inward.
- Cuffs: open them fully, iron the inside, then the outside, pressing around any buttons rather than over them.
- Sleeves: lay each sleeve flat, line up the seam, and press from shoulder to cuff to create one clean crease.
- Back: drape the back over the wide end of the board and press in sections.
- Front panels: finish with the two front panels, taking care around the button placket and collar.
Keep the iron moving in long, smooth strokes rather than pressing and holding, which can leave shine marks. A steady rhythm covers more fabric and prevents scorching.
How to nail the collar and cuffs
The collar and cuffs are what people actually see, so a little extra care here pays off out of proportion to the effort. A sharp collar makes an otherwise average press look intentional and polished.
For the collar, iron it flat and open rather than folded. Only fold and lightly press the crease at the very end, so it sits naturally instead of looking creased in the wrong spot. For cuffs, always undo every button and iron them completely flat; a wrinkled cuff undermines the whole shirt.
Dealing with stubborn wrinkles
For a deep wrinkle that will not release, hit it with a burst of steam and press again. If your iron is low on steam, a spray bottle of water works just as well. Damp fabric plus heat relaxes fibers instantly, which is the whole secret behind fast results.
Using steam and finishing touches
Steam is your best friend for speed. It relaxes fibers so wrinkles fall out with a single pass instead of three. Keep your iron topped up with water and use the steam button generously on cotton, easing off on delicate blends that can water-spot.
Once the shirt is pressed, hang it immediately on a good hanger to keep it crisp. Buttoning the top button and collar button helps the collar hold its shape while it cools. If you are between a full iron and a quick refresh, a handheld steamer can touch up a hanging shirt in seconds, and our comparison of steamers and irons can help you decide which suits your routine.
Habits that mean less ironing overall
The fastest ironing is the ironing you skip. A few laundry habits dramatically cut how wrinkled your shirts get in the first place, so the five-minute press becomes a two-minute touch-up.
Pull shirts out of the dryer while slightly damp and hang them right away, or better yet, hang them to dry so gravity does half the work. How you dry clothes has a huge effect on wrinkling, which our breakdown of air drying versus machine drying explores in detail.
Do not overload the washer either, since crammed shirts come out deeply creased. And treat delicate dress shirts, especially silk-blend ones, with the gentleness they need; our silk care guide covers how to keep fine fabrics smooth without heavy ironing.
Choosing the right iron and board for fast results
Your equipment quietly determines how fast you can work. You do not need an expensive iron, but a few features genuinely save minutes and frustration each time you press a shirt.
Look for an iron with a strong, consistent steam burst and a stainless or ceramic soleplate that glides smoothly. A model in the $30 to $60 range handles dress shirts easily. A board with a firm, well-padded surface and an adjustable height that lets you work standing upright without hunching is just as important, since a wobbly or too-low board slows every stroke.
If storage is tight, a compact tabletop board or a broad, heat-resistant ironing mat that rolls up works surprisingly well for a single shirt and stows in a closet or under the bed.
Quick answers to common ironing questions
Should you iron a shirt damp or dry? Slightly damp is ideal. The moisture combined with heat relaxes fibers instantly, so wrinkles release in one pass instead of several. If the shirt has fully dried, mist it lightly first.
Do you iron the inside or outside of a shirt? Mostly the outside, but iron the underside of the collar and the inside of cuffs first. For dark shirts prone to shine, pressing from the inside protects the finish.
How do you keep a shirt crisp after ironing? Hang it immediately on a sturdy hanger, button the collar, and let it cool fully before wearing. A cooling shirt sets its shape, so a minute of patience keeps the crease sharp all day.
One professional trick worth stealing: keep a small spray bottle of water mixed with a teaspoon of liquid starch on the board. A light mist on collars, cuffs, and the front placket gives those high-visibility areas a crisp, structured finish that lasts through the day without stiffening the whole shirt. Use it sparingly, since too much starch can flake.
Finally, resist the urge to iron a shirt you plan to wear hours later and leave folded. Creases from folding will reappear, so either wear it soon after pressing or hang it properly. Ironing right before you dress is the surest way to walk out the door genuinely wrinkle-free.
Common ironing mistakes to avoid
Even a good sequence can go wrong if you fall into these traps. Sidestep them and your five-minute shirt will look genuinely professional.
- Ironing dirty shirts: heat sets stains and body oils, so always iron clean fabric.
- Too much heat on synthetics: it melts fibers and leaves a permanent shine.
- Skipping the underside of the collar: it leaves visible wrinkles when the collar folds down.
- Leaving the iron flat and still: this scorches fabric and wastes time.
Your next step is simple: time yourself once. Follow the collar-cuffs-sleeves-back-front order on your next shirt and you will almost certainly beat five minutes on the second try. Speed is just the sequence becoming a habit. For fabric-care fundamentals worth bookmarking, the EPA Safer Choice is a solid reference.

Felipe Amaral writes about laundry and clothing care for real life — small apartments, busy weeks and clothes you actually want to last. Based in Denver, Colorado, he’s made every laundry mistake in the book so you don’t have to.